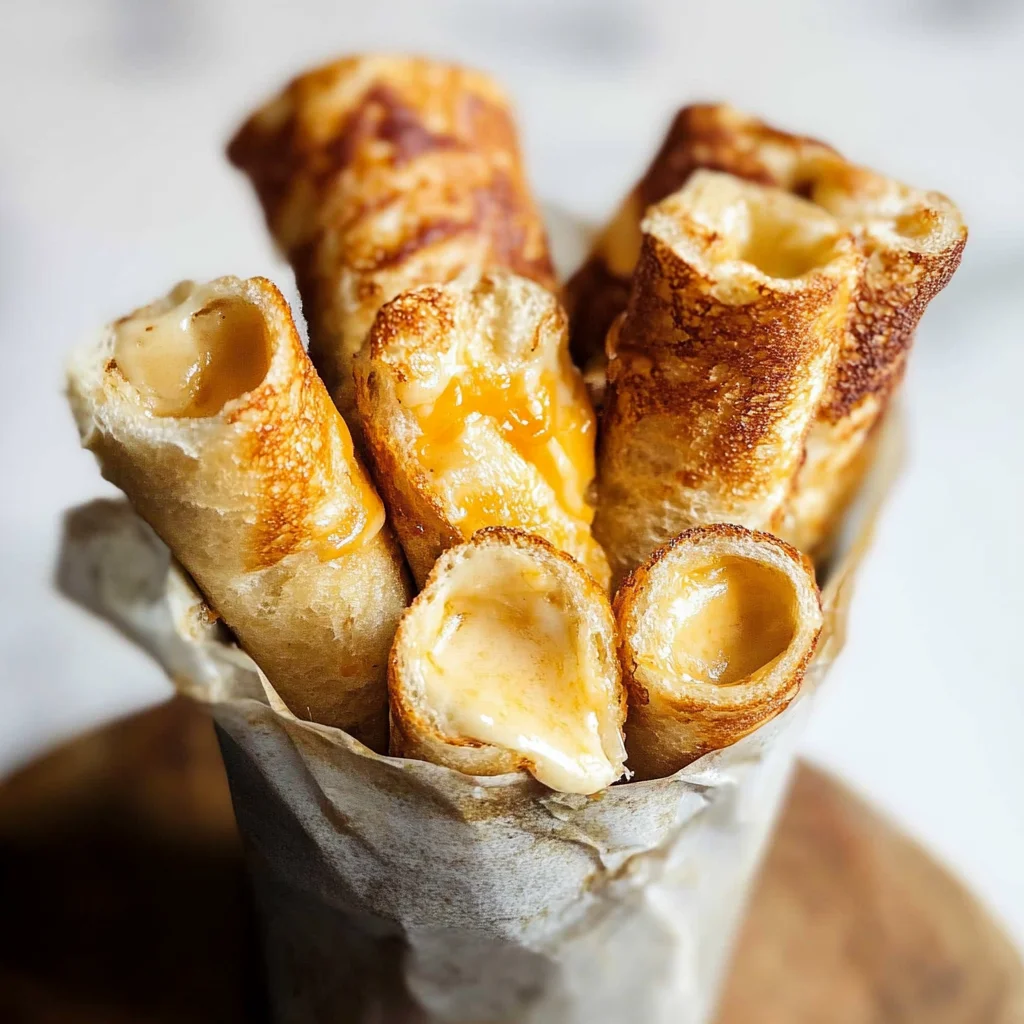
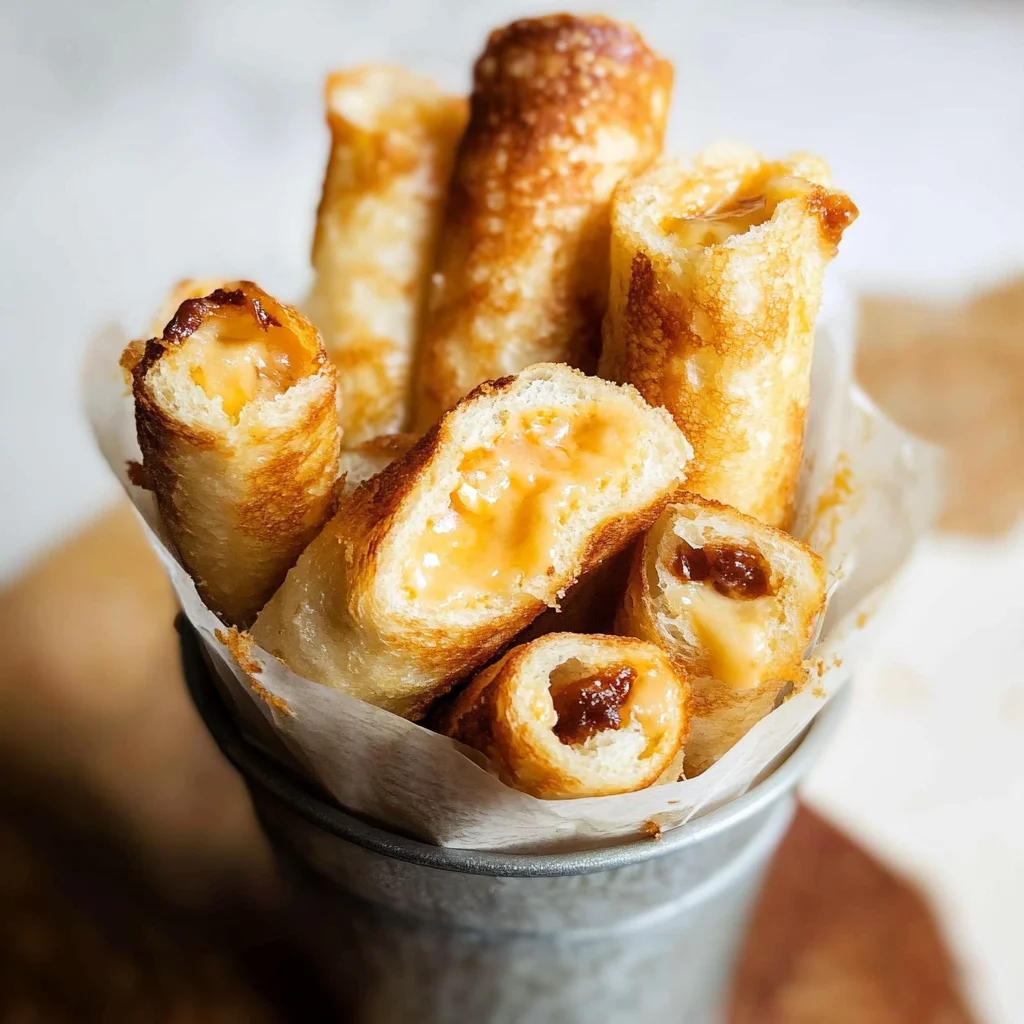
These Grilled Cheese Roll Ups are the perfect blend of fun and flavor, making them an ideal treat for lunch, snacks, or even a party appetizer. With their crispy outside and gooey cheese inside, they are sure to be a hit at any gathering. Plus, they are incredibly easy to make! Whether you’re cooking for kids or hosting friends, these cheesy delights will add excitement to your table.
Why You’ll Love This Recipe
- Quick Preparation: With just 30 minutes from start to finish, you can whip up these roll ups in no time.
- Cheesy Goodness: Each bite is packed with ooey-gooey cheddar that melts beautifully.
- Versatile Snack: Great as a lunch option or finger food for parties and get-togethers.
- Kid-Friendly Fun: Kids love both making and eating these delightful roll ups.
- Minimal Ingredients: Requires only three simple ingredients, making it budget-friendly.
Tools and Preparation
Before diving into the recipe, gather your tools and prepare your workspace. Having everything ready will ensure a smooth cooking experience.
Essential Tools and Equipment
- Non-stick frying pan
- Rolling pin
- Tongs
- Butter brush
Importance of Each Tool
- Non-stick frying pan: Prevents sticking and ensures even cooking for perfectly golden roll ups.
- Rolling pin: Flattens the bread evenly for optimal rolling and a better texture in each bite.
Ingredients
These Grilled Cheese Roll Ups are super easy, totally cheesy and darn-right delicious!
Bread
- 8 thick slices of Soft White Bread (see notes)
Cheese
- 1.5 cups / 150g finely grated Cheddar
Butter
- 2 tbsp Butter (melted or as needed)
How to Make Grilled Cheese Roll Ups
Step 1: Prepare the Bread
- One by one, slice the crusts off of each slice of bread.
- Use a rolling pin to flatten each slice.
Step 2: Add Cheese
- Add a pinch of cheese to each flattened slice.
- Leave a small strip at one end for brushing with butter later.
Step 3: Roll Up
- Tightly but carefully roll up each slice from the cheese end toward the buttered end.
- Brush the rolled-up seam with butter to seal it shut.
- Place each roll seam-side down on a plate.
Step 4: Cook the Roll Ups
- Brush all over with butter before placing in the pan.
- Add roll ups to a dry pan seam-side-down over low-medium heat.
- Fry until golden all over with cheese starting to leak out. Use tongs to turn them frequently.
- You may need to do this in two batches depending on your pan size.
Enjoy your deliciously cheesy Grilled Cheese Roll Ups!
How to Serve Grilled Cheese Roll Ups
Grilled Cheese Roll Ups are a delightful twist on the classic favorite. They are not just tasty on their own but can also be paired with various sides and dips to elevate your meal experience.
With Dipping Sauces
- Tomato Soup – A classic pairing, the warmth and acidity of tomato soup complement the cheesy goodness.
- Ranch Dressing – Creamy and herby, ranch dressing adds a zesty flavor that’s perfect for dipping.
- Sriracha Mayo – For those who love a kick, mix sriracha with mayo for a spicy dip that enhances the cheese.
As Party Appetizers
- Skewered Roll Ups – Cut each roll up into bite-sized pieces and serve on skewers for easy eating at parties.
- Platter with Veggies – Arrange roll ups on a platter with sliced cucumbers, carrots, and bell peppers for a colorful display.
- Cheese Board – Include grilled cheese roll ups as part of a larger cheese board for variety.
With Salads
- Caesar Salad – The crisp romaine and creamy dressing pair beautifully with the warm, cheesy roll ups.
- Coleslaw – A tangy coleslaw adds crunch and contrasts nicely with the richness of the cheese.

How to Perfect Grilled Cheese Roll Ups
Making Grilled Cheese Roll Ups is easy, but these tips will ensure they turn out perfectly every time.
- Use Fresh Bread – Fresh bread rolls better and gives you a nice texture when frying.
- Don’t Overfill – Use just enough cheese to avoid spillage during cooking; this keeps them neat.
- Brush Generously with Butter – Ensure that all sides are well-buttered for a golden, crispy exterior.
- Cook on Low Heat – Cooking slowly allows the cheese to melt thoroughly without burning the bread.
- Turn Frequently – Keep an eye on them and turn often to achieve an even golden color all around.
Best Side Dishes for Grilled Cheese Roll Ups
Grilled Cheese Roll Ups are versatile enough to pair well with various side dishes. Here are some great options to consider:
- Classic Tomato Soup – This timeless companion brings warmth and acidity that balances the richness of the cheese.
- Garden Salad – A fresh salad with greens and vinaigrette adds lightness to your meal.
- Potato Chips – Crunchy chips add texture contrast; opt for flavored varieties for more excitement.
- Sweet Potato Fries – Crispy sweet potato fries offer a sweet contrast to the savory roll ups.
- Pickles – Their tanginess cuts through the cheese, providing a refreshing bite.
- Fruit Salad – A mix of fresh fruits adds sweetness and brightness to your meal.
Common Mistakes to Avoid
Making Grilled Cheese Roll Ups can be simple, but avoiding common mistakes will help ensure delicious results.
- Skipping the crust removal: Leaving the crusts on can make rolling difficult. Always cut off the crusts before flattening the bread.
- Overfilling with cheese: Adding too much cheese can cause spills during cooking. Use just a pinch of cheese for each roll up.
- Not flattening the bread enough: If the bread isn’t flattened properly, it may not roll easily. Use a rolling pin until it’s thin and pliable.
- Using high heat: Cooking on too high heat can burn the outside while leaving the cheese unmelted. Always use low to medium heat for even cooking.
- Not brushing enough butter: Insufficient butter can lead to sticking or uneven browning. Brush generously on all sides of your roll ups.
Storage & Reheating Instructions
Refrigerator Storage
- Store Grilled Cheese Roll Ups in an airtight container.
- They can last in the refrigerator for up to 3 days.
Freezing Grilled Cheese Roll Ups
- Wrap each roll up individually in plastic wrap or foil.
- Store them in a freezer-safe bag for up to 2 months.
Reheating Grilled Cheese Roll Ups
- Oven: Preheat your oven to 350°F (175°C) and bake for about 10-15 minutes until heated through and crispy.
- Microwave: Heat on medium power for 30-60 seconds. This method may make them soft rather than crispy.
- Stovetop: Place in a dry pan over low-medium heat, turning frequently until heated through and crispy.
Frequently Asked Questions
Here are some common questions about making Grilled Cheese Roll Ups.
How do I make Grilled Cheese Roll Ups crispy?
To achieve crispy roll ups, ensure you use enough butter when frying and cook them over low to medium heat.
Can I customize my Grilled Cheese Roll Ups?
Absolutely! You can add ingredients like ham, spinach, or different cheeses to personalize your Grilled Cheese Roll Ups.
What type of bread works best for Grilled Cheese Roll Ups?
Soft white bread is ideal due to its flexibility, but you can also use whole wheat or sourdough if preferred.
How long does it take to prepare Grilled Cheese Roll Ups?
The total time for preparation and cooking is about 30 minutes, making it a quick option for lunch or snack.
Final Thoughts
Grilled Cheese Roll Ups are an easy and delightful treat that brings comfort food to a new level. Their versatility allows for endless customization, so feel free to experiment with various cheeses and fillings. You won’t regret trying this fun twist on a classic favorite!

Grilled Cheese Roll Ups
- Total Time: 30 minutes
- Yield: Makes approximately 8 roll ups 1x
Description
Grilled Cheese Roll Ups are a fun twist on the classic comfort food that everyone loves. These crispy, cheesy bites make for an irresistible snack, perfect for lunch, parties, or casual get-togethers. With gooey cheddar cheese rolled up in soft bread and pan-fried to golden perfection, they are not only easy to prepare but also customizable with your favorite ingredients. In just 30 minutes, you can create a delicious dish that’s sure to impress both kids and adults alike. Serve them with dipping sauces like tomato soup or ranch dressing for an even more delightful experience.
Ingredients
- 8 thick slices of Soft White Bread
- 1.5 cups finely grated Cheddar Cheese
- 2 tbsp Butter (melted or as needed)
Instructions
- Cut off the crusts from each slice of bread and flatten using a rolling pin.
- Sprinkle a pinch of cheese on each slice, leaving a strip at one end for buttering.
- Carefully roll each slice from the cheese end toward the buttered end and seal with butter.
- Brush all sides with melted butter and place seam-side down in a non-stick frying pan over low-medium heat.
- Fry until golden brown, turning frequently until cooked evenly.
- Prep Time: 15 minutes
- Cook Time: 15 minutes
- Category: Snack
- Method: Frying
- Cuisine: American
Nutrition
- Serving Size: 1 roll up (45g)
- Calories: 180
- Sugar: 1g
- Sodium: 350mg
- Fat: 10g
- Saturated Fat: 6g
- Unsaturated Fat: 4g
- Trans Fat: 0g
- Carbohydrates: 16g
- Fiber: 1g
- Protein: 5g
- Cholesterol: 20mg

