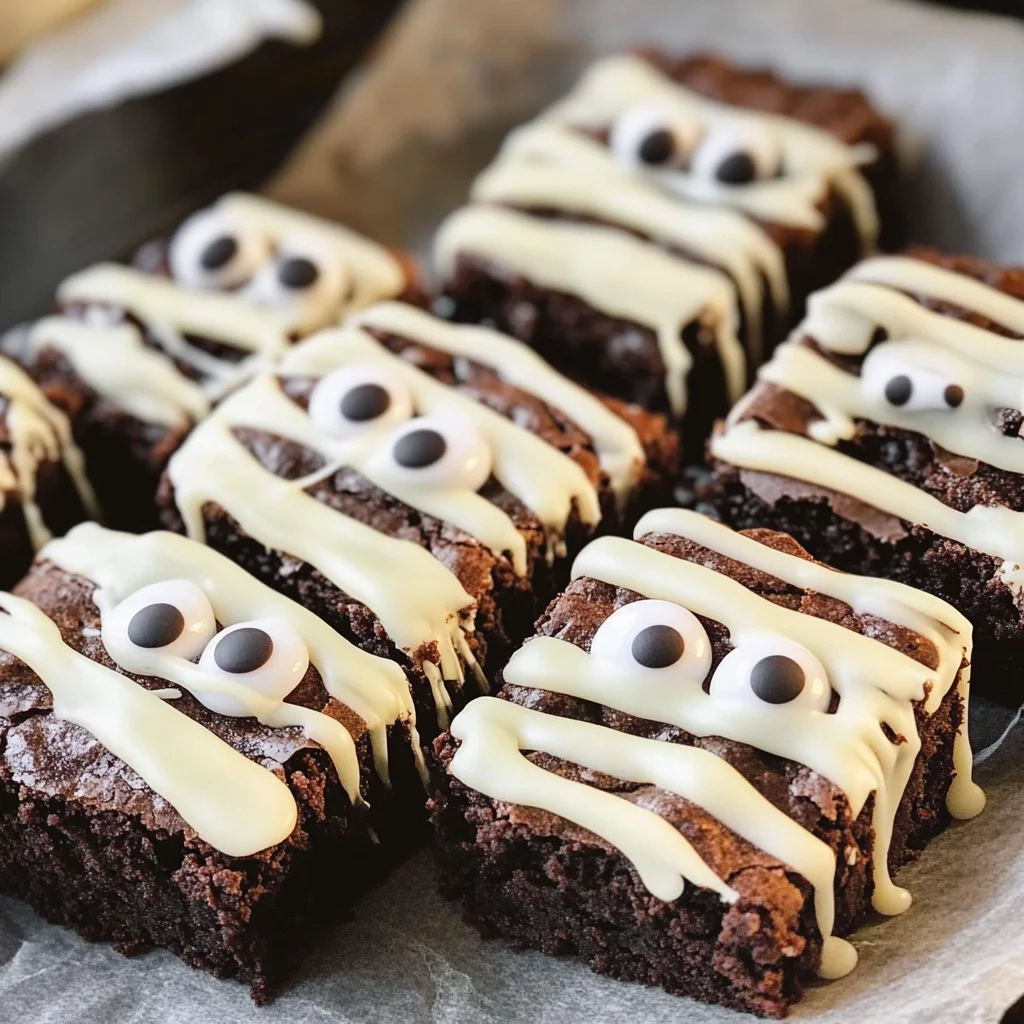
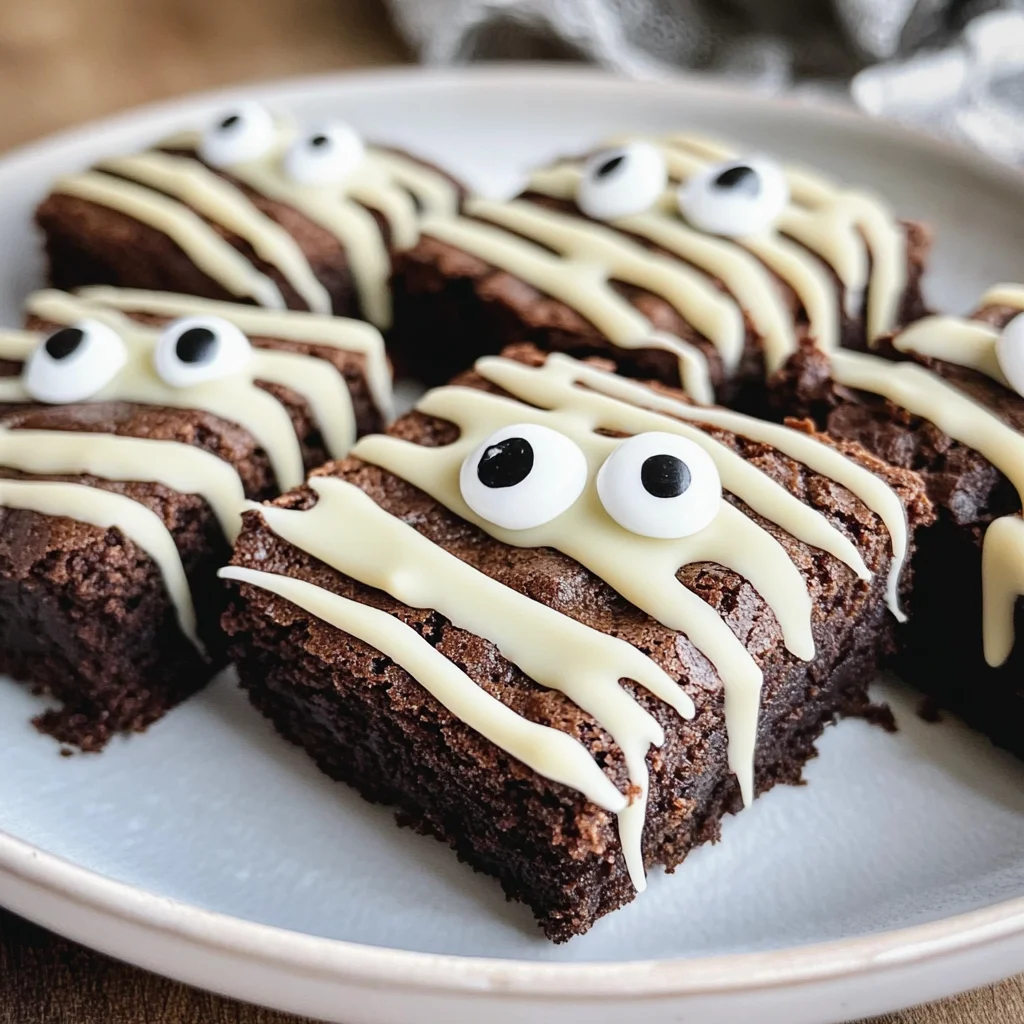
Spooky Mummy Brownies are the perfect Halloween treat for little ghosts and goblins. With their delicious chocolatey flavor and fun mummy design, these brownies will delight kids and adults alike. Easy to make from scratch, they’re ideal for parties, school events, or a festive treat at home. Let’s dive into this simple yet unique recipe that adds a touch of creativity to your dessert table.
Why You’ll Love This Recipe
- Fun Presentation: The mummy design with candy eyes makes these brownies visually appealing, perfect for Halloween.
- Simple Ingredients: Made with common pantry staples, you won’t need to hunt for exotic items.
- Quick Preparation: With a prep time of just 5 minutes, you can whip these up in no time.
- Customizable: Feel free to play around with toppings or even add nuts for extra crunch.
- Crowd-Pleaser: These brownies are sure to satisfy both kids and adults at any gathering.
Tools and Preparation
Before you start making your Mummy Brownies, gather the necessary tools to make the process smooth and enjoyable.
Essential Tools and Equipment
- 9×9 inch baking pan
- Microwave-safe bowl
- Mixing bowls
- Electric mixer (optional)
- Parchment paper
- Zip-loc bag
Importance of Each Tool
- 9×9 inch baking pan: This size is perfect for evenly baking your brownies, ensuring a soft interior.
- Microwave-safe bowl: Ideal for melting butter and chocolate quickly without burning them.
- Parchment paper: Helps prevent sticking and makes it easy to lift out the brownies once baked.
Ingredients
Spooky Mummy Brownies are made with an Easy Brownie Recipe that guarantees deliciousness.
Brownie Base
- 1/2 Cup Butter
- 1/4 Cup Chocolate Chips (Semisweet)
- 2 teaspoons Vanilla Extract
- 2 eggs (large)
- 3/4 Cup Flour (94g)
- 1/2 Cup Sugar (100g)
- 1/2 Cup Brown Sugar (100g)
- 1/3 Cup Dutch Process Cocoa (33g)
- 1/4 teaspoon Salt
Decorations
- 32 Candy Eyes
- 1 cup White Chocolate Chips (or Candy Wafers)
How to Make Mummy Brownies
Step 1: Melt the Butter and Chocolate
In a large mixing bowl, melt the butter and semisweet chocolate chips in the microwave. Heat for 30 seconds at a time, stirring in between, until fully melted.
Step 2: Combine Dry Ingredients
In another bowl, mix together the flour, brown sugar, white sugar, Dutch process cocoa, and salt. Stir until well combined.
Step 3: Mix Wet Ingredients
Add the eggs and vanilla extract into the chocolate mixture. Stir until everything is thoroughly mixed.
Step 4: Combine Wet and Dry Mixtures
Gradually stir the dry ingredients into the wet ingredients. Mix until just combined; do not overmix.
Step 5: Bake the Brownies
Pour the brownie batter into a greased or parchment-lined 9×9 inch baking pan. Bake at 350°F (175°C) for about 30–35 minutes or until a toothpick inserted in the center comes out clean.
Step 6: Cool Before Slicing
Let the brownies cool in the pan for about 5 minutes. Then use parchment paper to lift them out. Allow them to cool completely on a wire rack for about 30 minutes before slicing.
Step 7: Prepare White Chocolate Drizzle
Melt the white chocolate chips in a microwave-safe bowl using 30-second intervals until smooth. Be careful not to overcook.
Step 8: Decorate Your Mummy Brownies
Transfer melted white chocolate into a zip-loc bag. Snip off a small corner of the bag to create a drizzle effect. Place two candy eyes on each brownie piece before drizzling white chocolate back and forth across each brownie to create a mummy look.
Step 9: Final Touches
Allow chocolate drizzle to cool for about 10–15 minutes before storing your spooky Mummy Brownies in an airtight container. Enjoy your delightful Halloween treat!
How to Serve Mummy Brownies
Mummy Brownies are not just a treat; they can be the star of your Halloween gathering! Here are some fun ways to serve these delightful brownies to make your spooky celebration even more festive.
Individual Treat Bags
- Use small clear bags to package individual brownies. Tie them with orange or purple ribbon for a charming touch.
Halloween Dessert Platter
- Arrange the brownies on a platter alongside other Halloween-themed treats, such as ghost-shaped cookies and pumpkin cupcakes, for an eye-catching display.
Themed Plates
- Serve Mummy Brownies on plates decorated with cobwebs or skeletons. It adds an extra layer of fun to your dessert table!
Pair with Milk
- Offer cold milk or a plant-based alternative in cute Halloween cups. The creamy drink complements the rich chocolate flavor of the brownies perfectly.
How to Perfect Mummy Brownies
Making Mummy Brownies is easy, but a few tips can help you achieve perfection. Follow these suggestions for the best results!
- Use Fresh Ingredients: Always opt for fresh eggs and high-quality chocolate chips to enhance flavor and texture.
- Don’t Overmix: Gently stir the batter until just combined. Overmixing can lead to tough brownies.
- Check Oven Temperature: Ensure your oven is preheated and accurate. An oven thermometer can help maintain the right baking temperature.
- Cool Properly: Allow the brownies to cool completely before slicing. This helps maintain their shape and makes them easier to cut.
- Decorate Creatively: Feel free to get creative with your chocolate drizzle! Experiment with different patterns for unique looks.
Best Side Dishes for Mummy Brownies
Pairing side dishes with your Mummy Brownies can elevate your dessert experience. Here are some delightful options that complement these spooky treats!
- Pumpkin Spice Cupcakes – Light and fluffy cupcakes flavored with pumpkin spice create a seasonal treat that pairs well with chocolate.
- Ghostly Marshmallow Pops – Dip marshmallows in white chocolate, then use edible markers or chocolate drizzle to create ghost faces.
- Spooky Fruit Skewers – Assemble skewers of various fruits like strawberries, bananas, and grapes for a healthy contrast to sweet brownies.
- Caramel Apple Slices – Slice apples and drizzle them with caramel sauce for a crunchy, sweet side that enhances the brownie indulgence.
- Chocolate-Dipped Pretzels – Salty pretzels dipped in chocolate add a sweet-and-salty element that balances out the rich flavors of the brownies.
- Witch’s Brew Hot Chocolate – Serve warm hot chocolate topped with whipped cream and sprinkles for a cozy drink option alongside your brownies.
Common Mistakes to Avoid
Making Mummy Brownies can be a fun and tasty Halloween treat, but there are a few common mistakes that can ruin your spooky creation.
-
Using cold ingredients: Cold eggs and butter can lead to a lumpy batter. Always bring your ingredients to room temperature for a smooth mix.
-
Overmixing the batter: Mixing too much can create dense brownies. Stir just until combined for light and fudgy results.
-
Not measuring ingredients accurately: Inaccurate measurements can lead to inconsistent texture. Use a kitchen scale or measuring cups for precise amounts.
-
Skipping the cooling time: Cutting brownies too soon can make them fall apart. Let them cool completely in the pan before slicing to achieve clean edges.
-
Not checking for doneness: Oven temperatures can vary, so rely on a toothpick test rather than just timing. Remove the brownies when the toothpick comes out with a few moist crumbs for perfect texture.
Storage & Reheating Instructions
Refrigerator Storage
- Store Mummy Brownies in an airtight container.
- They can last up to 5 days in the refrigerator without losing freshness.
Freezing Mummy Brownies
- Wrap individual brownie pieces tightly in plastic wrap.
- Place them in a freezer-safe container; they will keep well for up to 3 months.
Reheating Mummy Brownies
- Oven: Preheat to 350°F (175°C) and bake for about 5-10 minutes until warmed through.
- Microwave: Heat one brownie at a time for about 15-20 seconds; check to avoid overheating.
- Stovetop: Use a skillet on low heat, covering it with a lid, and warm each piece for 1-2 minutes.
Frequently Asked Questions
Here are some common questions about making Mummy Brownies that may help you along the way.
How do I know when my Mummy Brownies are done?
The brownies are done when you insert a toothpick into the center, and it comes out with a few moist crumbs. If it’s wet with batter, they need more baking time.
Can I use dark chocolate instead of semisweet chocolate chips?
Yes! Dark chocolate will enhance the richness of your Mummy Brownies, giving them an even deeper flavor profile.
What if I don’t have white chocolate chips?
You can substitute white chocolate chips with vanilla candy melts or even yogurt-covered raisins for decoration on your brownies.
Can I customize my Mummy Brownies?
Absolutely! Feel free to add nuts, sprinkles, or different types of candy as toppings before drizzling with melted chocolate for extra fun!
How should I store leftover brownies?
Store any leftover Mummy Brownies in an airtight container at room temperature for up to five days or refrigerate for longer freshness.
Final Thoughts
Mummy Brownies are not only delightful but also versatile, making them perfect for Halloween festivities or any occasion. You can easily customize these treats by adding various toppings or using different types of chocolate. Give this easy recipe a try and impress your friends and family with these spooky delights!

Mummy Brownies
- Total Time: 0 hours
- Yield: Approximately 16 servings 1x
Description
Delight your little ghosts and goblins this Halloween with Spooky Mummy Brownies! These fudgy chocolate treats are not only easy to make but also visually captivating, adorned with candy eyes and a whimsical white chocolate drizzle. Perfect for parties, school events, or a festive dessert at home, this recipe guarantees a sweet experience that will impress both kids and adults alike. With common pantry ingredients and quick preparation time, these brownies are a fantastic addition to your Halloween festivities. Get ready to enjoy a fun baking session that results in a deliciously spooky treat everyone will love!
Ingredients
- 1/2 Cup Butter
- 1/4 Cup Semisweet Chocolate Chips
- 2 teaspoons Vanilla Extract
- 2 Large Eggs
- 3/4 Cup All-Purpose Flour
- 1/2 Cup Granulated Sugar
- 1/2 Cup Brown Sugar
- 1/3 Cup Dutch Process Cocoa Powder
- 1/4 teaspoon Salt
- 32 Candy Eyes
- 1 Cup White Chocolate Chips
Instructions
- Preheat oven to 350°F (175°C). Grease or line a 9×9 inch baking pan with parchment paper.
- In a microwave-safe bowl, melt butter and semisweet chocolate chips until smooth.
- In another bowl, mix flour, brown sugar, granulated sugar, cocoa powder, and salt.
- Stir eggs and vanilla into the melted chocolate mixture until combined.
- Gradually incorporate the dry ingredients into the wet mixture until just combined.
- Pour batter into the prepared pan and bake for 30–35 minutes or until a toothpick comes out clean.
- Let brownies cool for about 5 minutes in the pan before transferring to a wire rack to cool completely.
- Melt white chocolate chips in the microwave until smooth; drizzle over cooled brownies using a zip-loc bag.
- Place two candy eyes on each brownie piece before the drizzle sets.
- Prep Time: 5 minutes
- Cook Time: 30–35 minutes
- Category: Dessert
- Method: Baking
- Cuisine: American
Nutrition
- Serving Size: 1 brownie (45g)
- Calories: 210
- Sugar: 18g
- Sodium: 55mg
- Fat: 10g
- Saturated Fat: 6g
- Unsaturated Fat: 3g
- Trans Fat: 0g
- Carbohydrates: 28g
- Fiber: 1g
- Protein: 3g
- Cholesterol: 40mg